Quick Start
1st Download Effect Node#
https://github.com/wonglok/effectnode-by-you
It's awlays my dream to make Computer Graphics Visual Effect (VFX) avaiable on the web.
2nd Install Deps#
yarn install; yarn dev;
3rd Where do I start editing to try things out?#
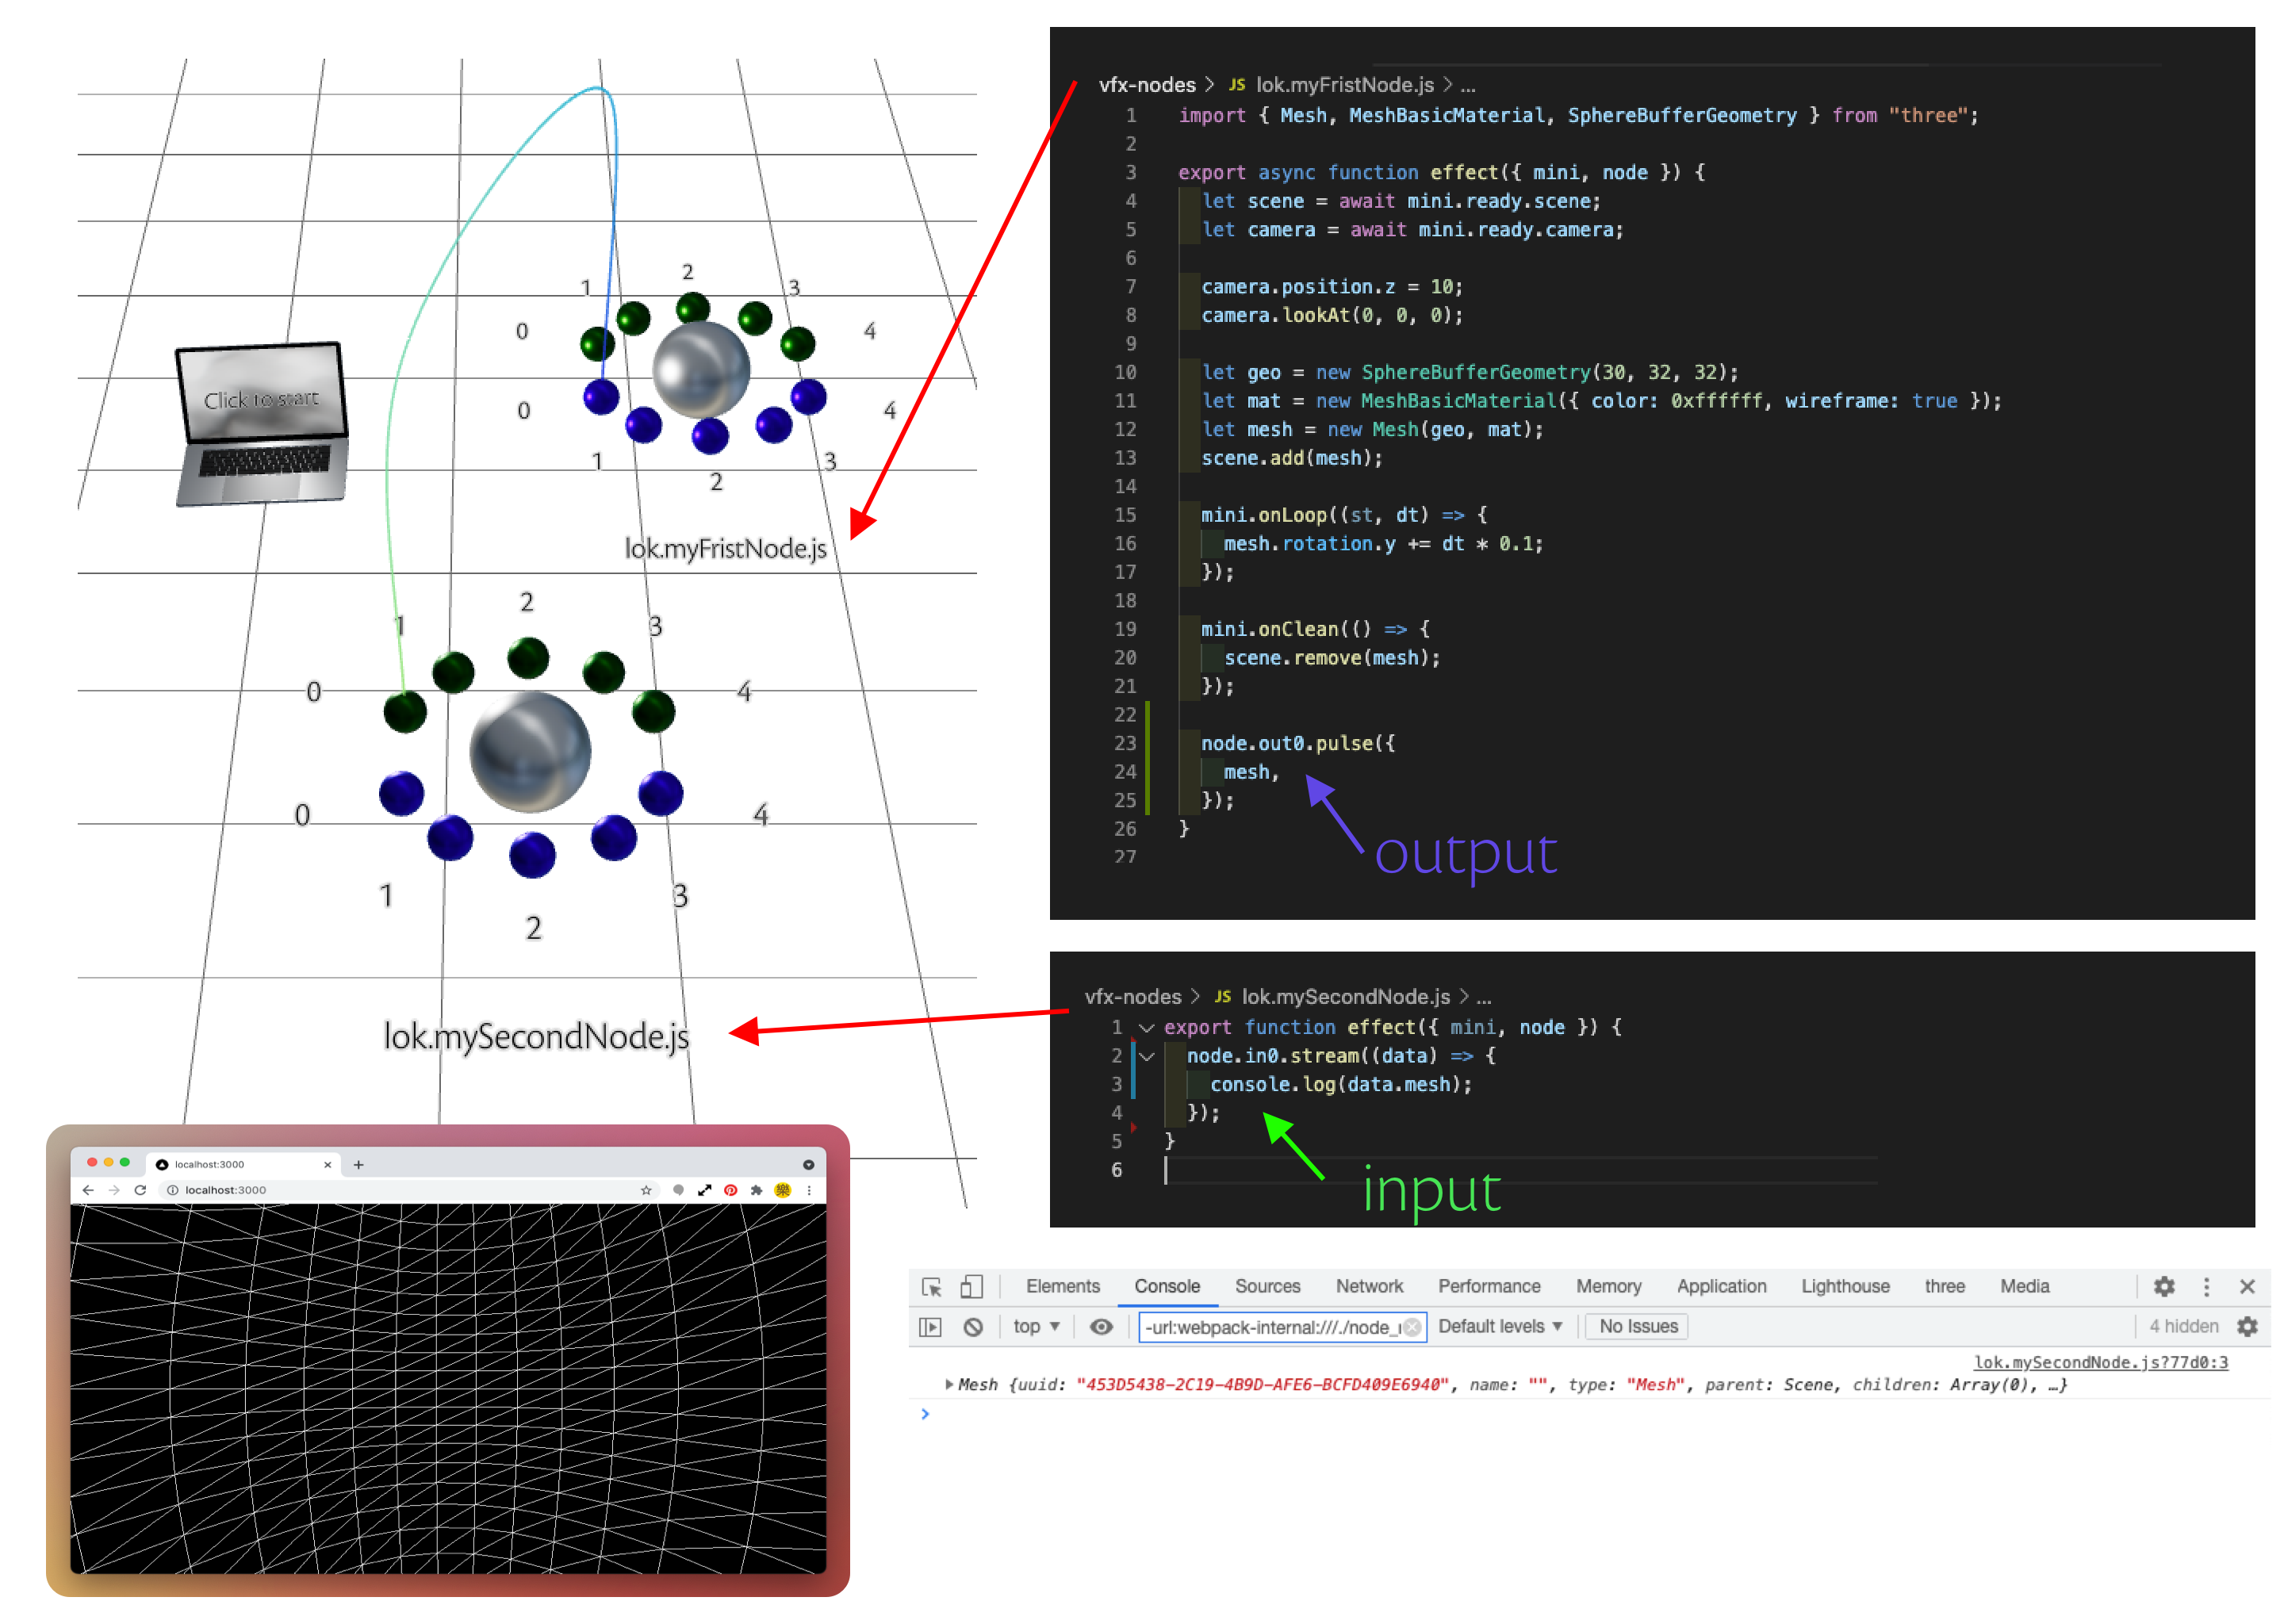
/vfx-nodes/lok.myFirstNode.js
You can try to change the color of the wire or the radius of the spehre.
ar haaa
The code logic is defined in your own codebase, even you are currently using the example graph json.
note
Graph json dont have 3d content logic, it only has node position & connection logic.
How do I use my own graph? Let's continue in step 4.
4th Setup Visual Prgraomming CMS#
By updating the firebase config#
go to file vfx-cms/CONFIG.js
export const firebaseConfig = { apiKey: "____________", authDomain: "____________", databaseURL: "____________", projectId: "____________", storageBucket: "____________", messagingSenderId: "____________", appId: "____________", measurementId: "____________",};Remember to include databaseURL in realtime database page.... and to export the varaible firebaseConfig so that the system can read the code#
5th Setup Visual Programming Security Rules#
Go to your firebase database console and copy and paste the rules JSON to your firebase database
{  "rules": {    ".read": true,    ".write": false,
    //    //    "profile": {      "$owner_user_id": {        ".read": "true",        "canvas": {          ".read": "true",          "$canvasID": {            ".read": "true",            ".write": "auth !== null && auth.uid === $owner_user_id",            "shareACL": {              ".write": "auth !== null && auth.uid === $owner_user_id"            },            "ownerACL": {              ".write": "auth !== null && auth.uid === $owner_user_id"            }          }        },        "layout": {          ".read": "true",          "$canvasID": {            ".write": "auth !== null && auth.uid === $owner_user_id",            "shareACL": {              ".write": "auth !== null && auth.uid === $owner_user_id"            },            "ownerACL": {              ".write": "auth !== null && auth.uid === $owner_user_id"            }          }        }      }    },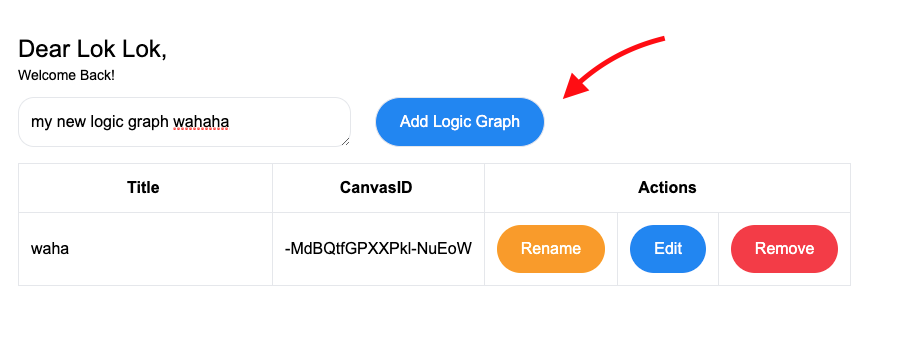
"canvas": { "$canvasID": { "$ownerID": { ".read": true, ".write": "auth !== null && auth.uid === $ownerID || auth !== null && root.child('profile').child($ownerID).child('canvas').child($canvasID).child('shareACL').hasChild(auth.uid)" } } } }}6th Create a new Logic Graph#
- visit CMS Panel
/effectnodein address bar in browser or click the link http://localhost:3000/effectnode
- login wtih google ID
- createa a new logic graph.
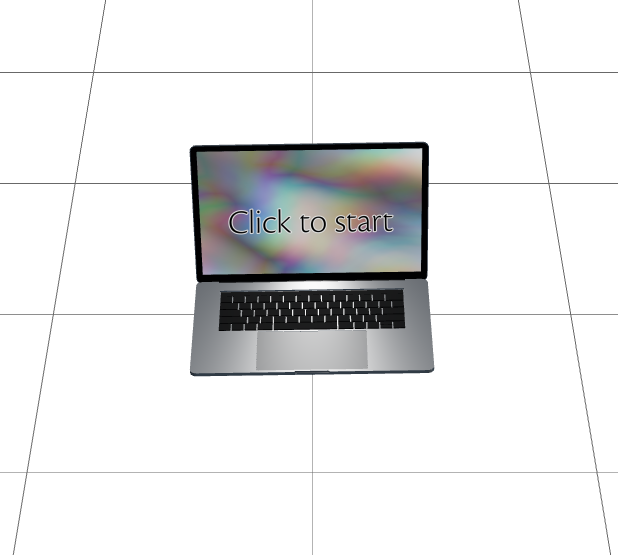
- click the laptop icon to start.
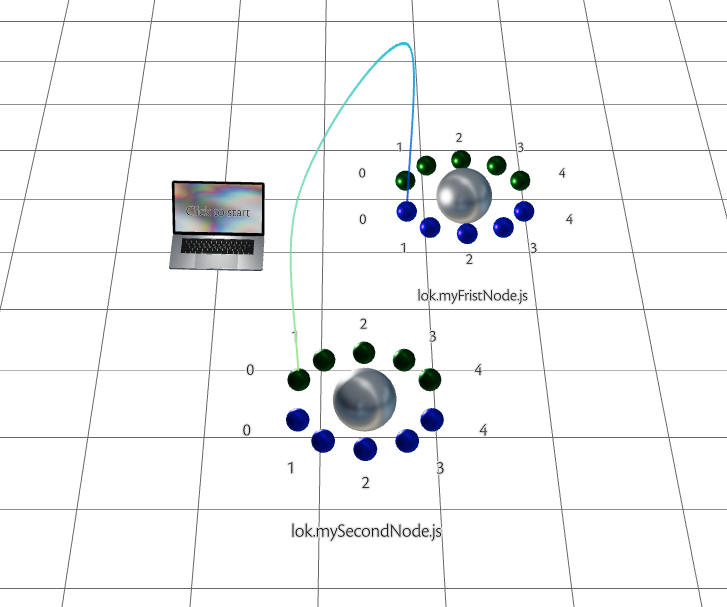
- add
lok.myFirstNodeandlok.mySecondNodeto the gird floor and connect usingpurple output port 0to thegreen input port 0
7th Run the Logic Graph you just created#
go to /pages/index.js and then change the ID to your own canvas runtime ID.
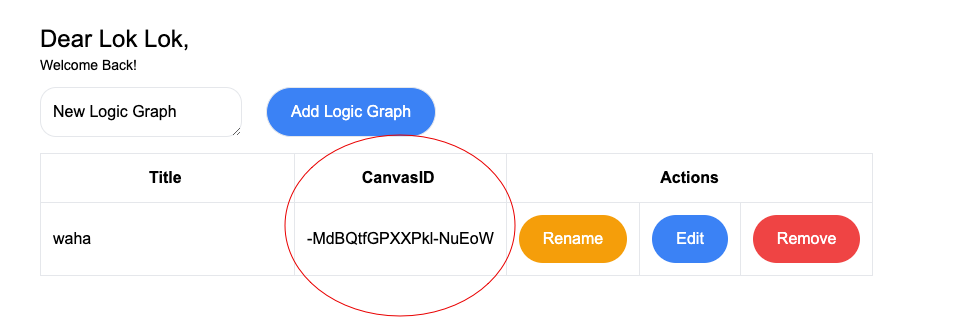
export async function getStaticProps(context) { return { props: { graphA: await getEffectNodeData(`_____CHANGE_IT_TO_YOURS_____`), // }, };}